DIY HUE Light Switch Using an ESP8266
September 23, 2020
Quarantine was the straw that broke the camel’s back when it came to my sleeping habits. In an effort to get back on track, I purchased some Hue lightbulbs. My main intent was to use them to simulate daylight automatically so that my circadian rhythm would be less affected by having the blinds closed. I also have been experimenting with turning the lights on gradually as I’m about to wake up for the day. I was able to accomplish all of these things through the Hue app.
However, one of the drawbacks to these lights is that they must have constant access to power in order to turn on automatically. This meant that using my normal light switch wouldn’t work for turning the lights on and off. I could use the Hue app for this, but I was interested in something more tactile. For a cool $59.99 I could simply buy a Hue light switch, but I laughed at the price and instead spent more in time and materials to make a light switch myself. But hey, at the very least the next light switch I make will be much cheaper as I bought parts in bulk.

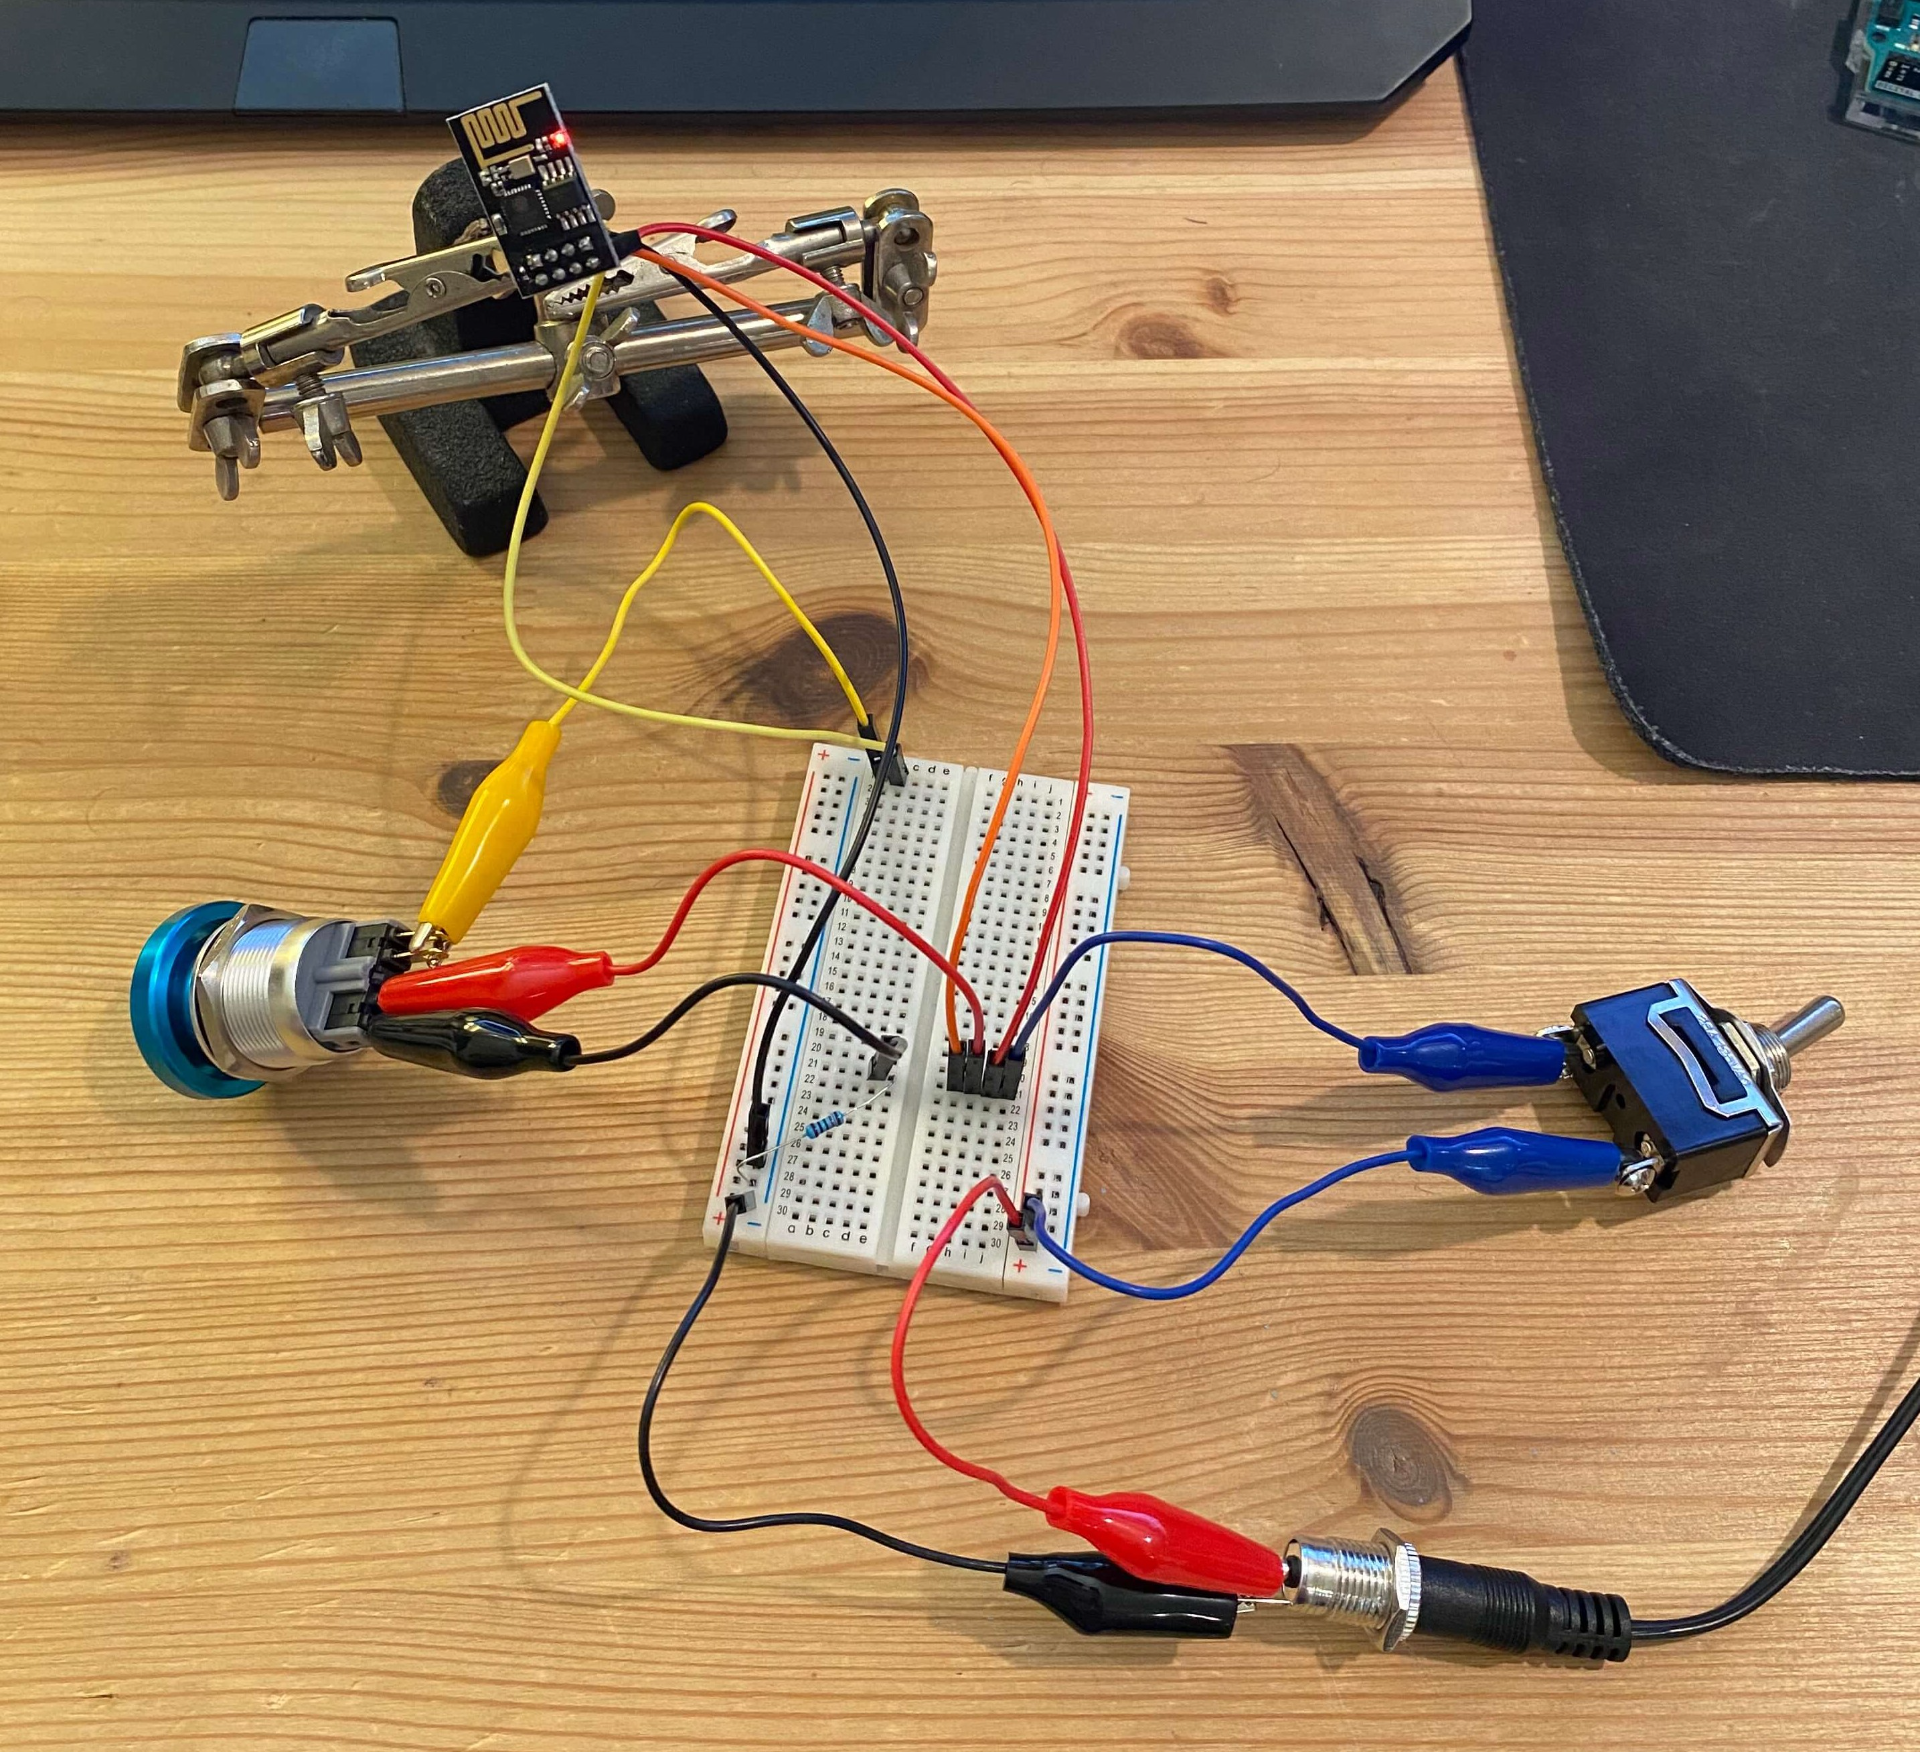
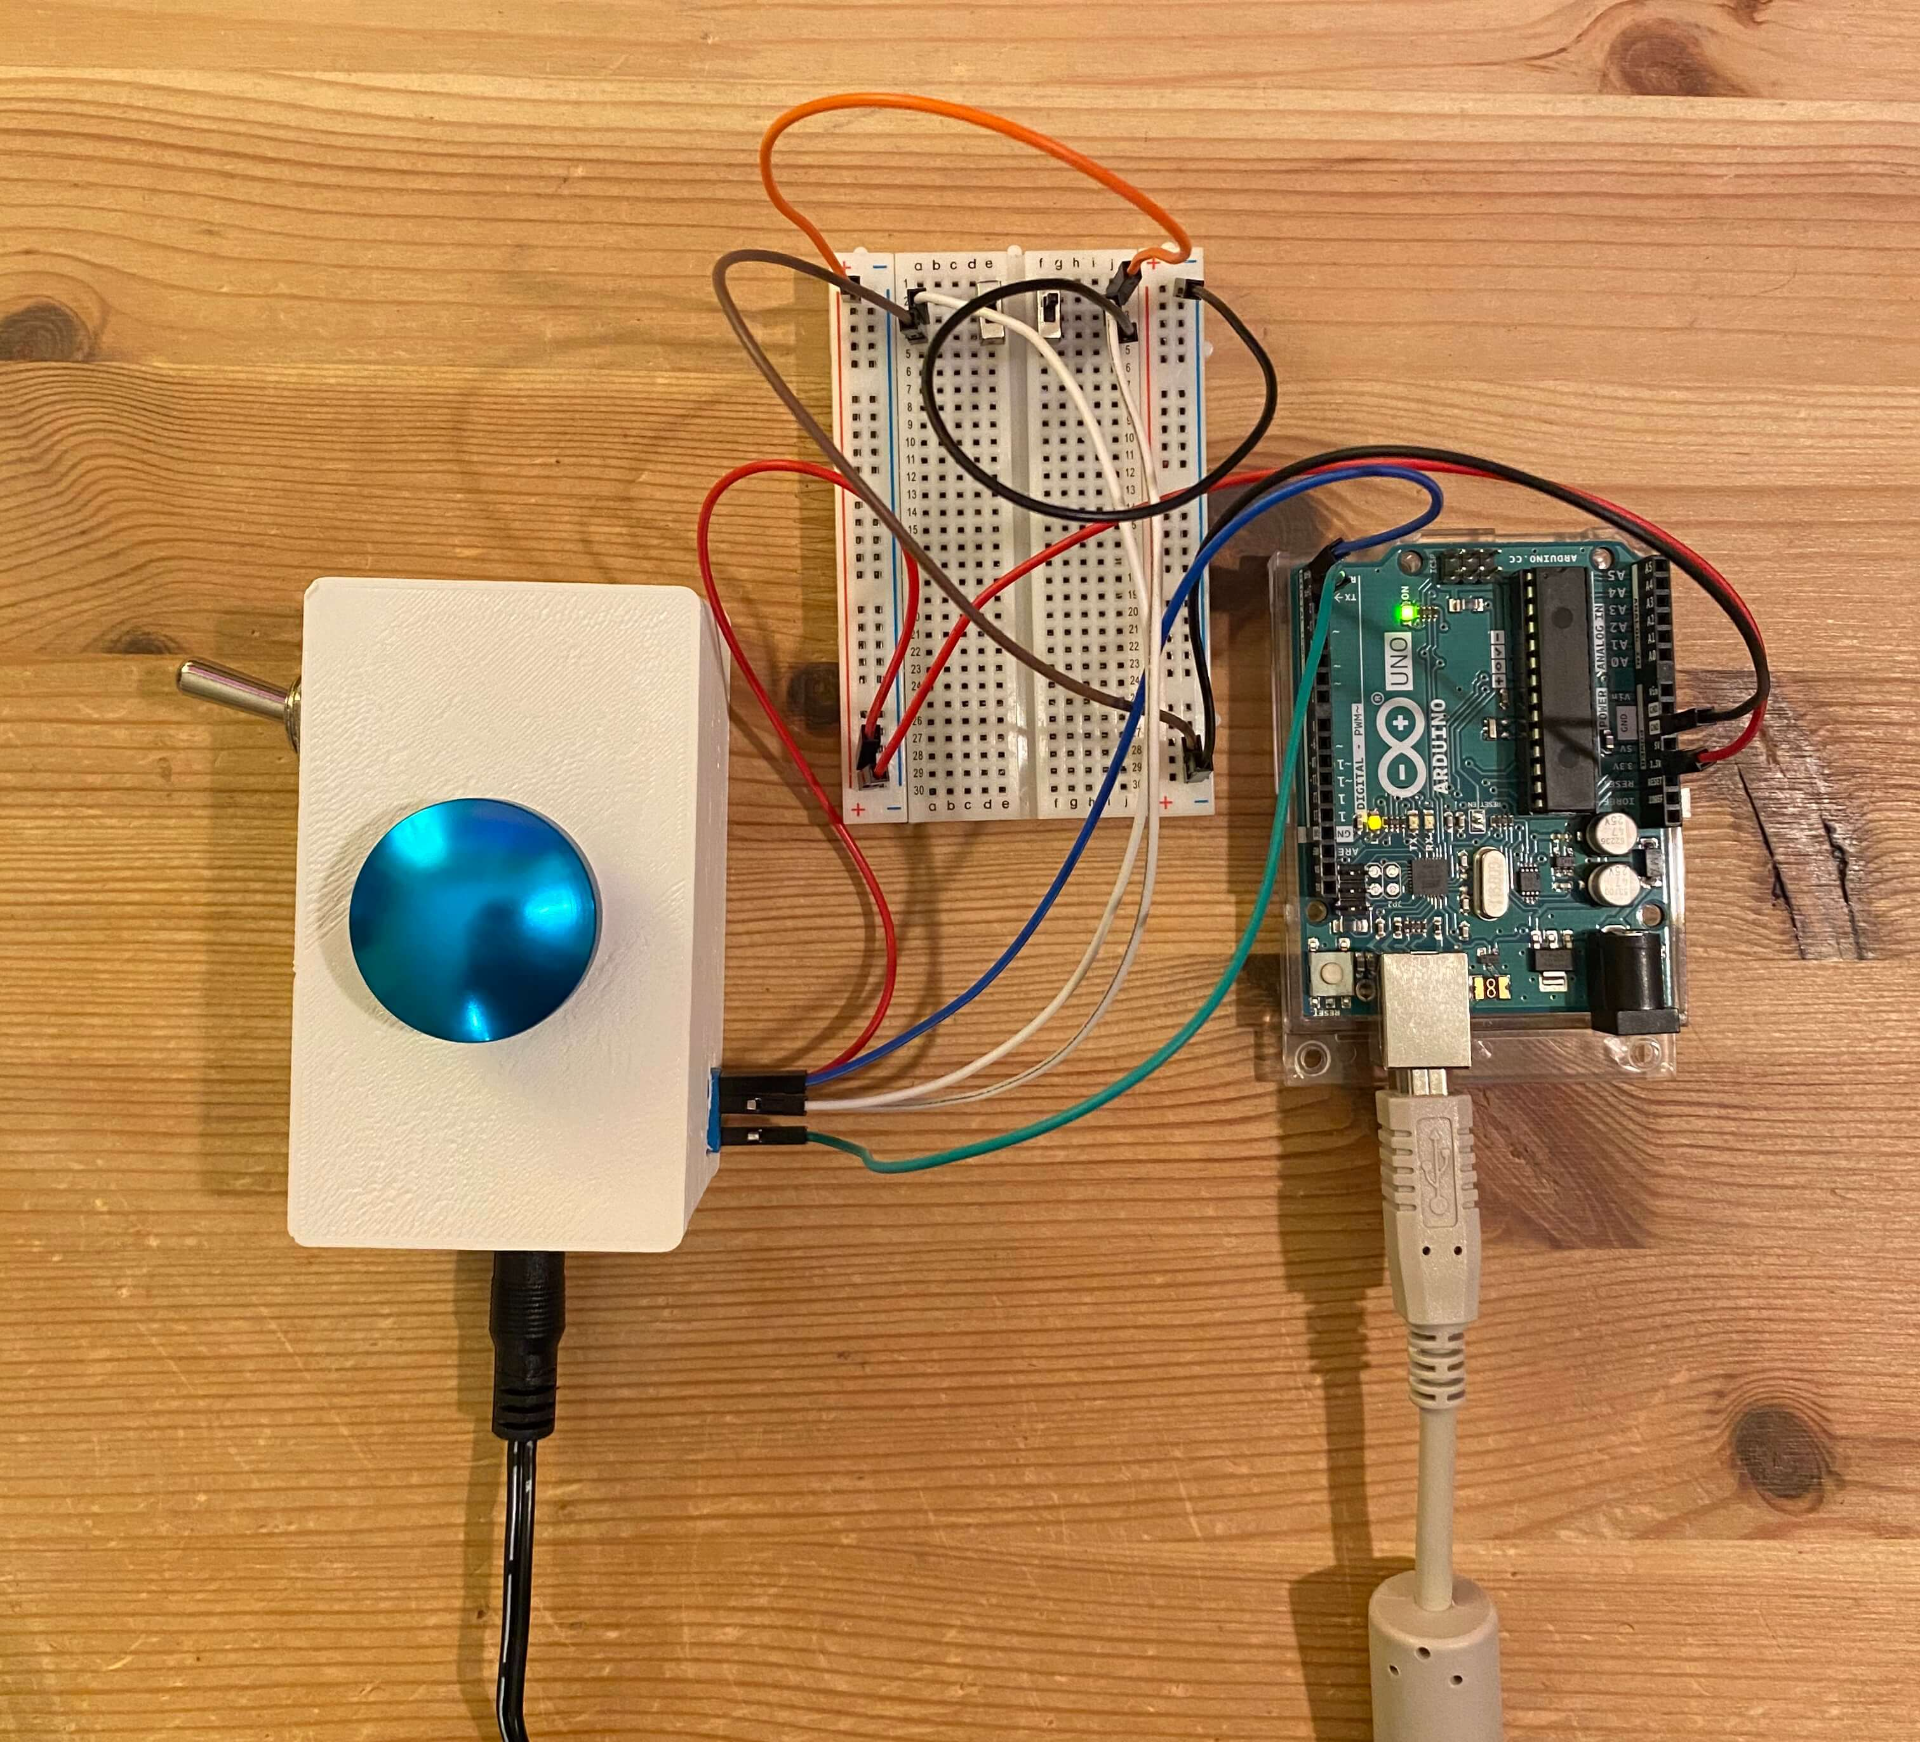
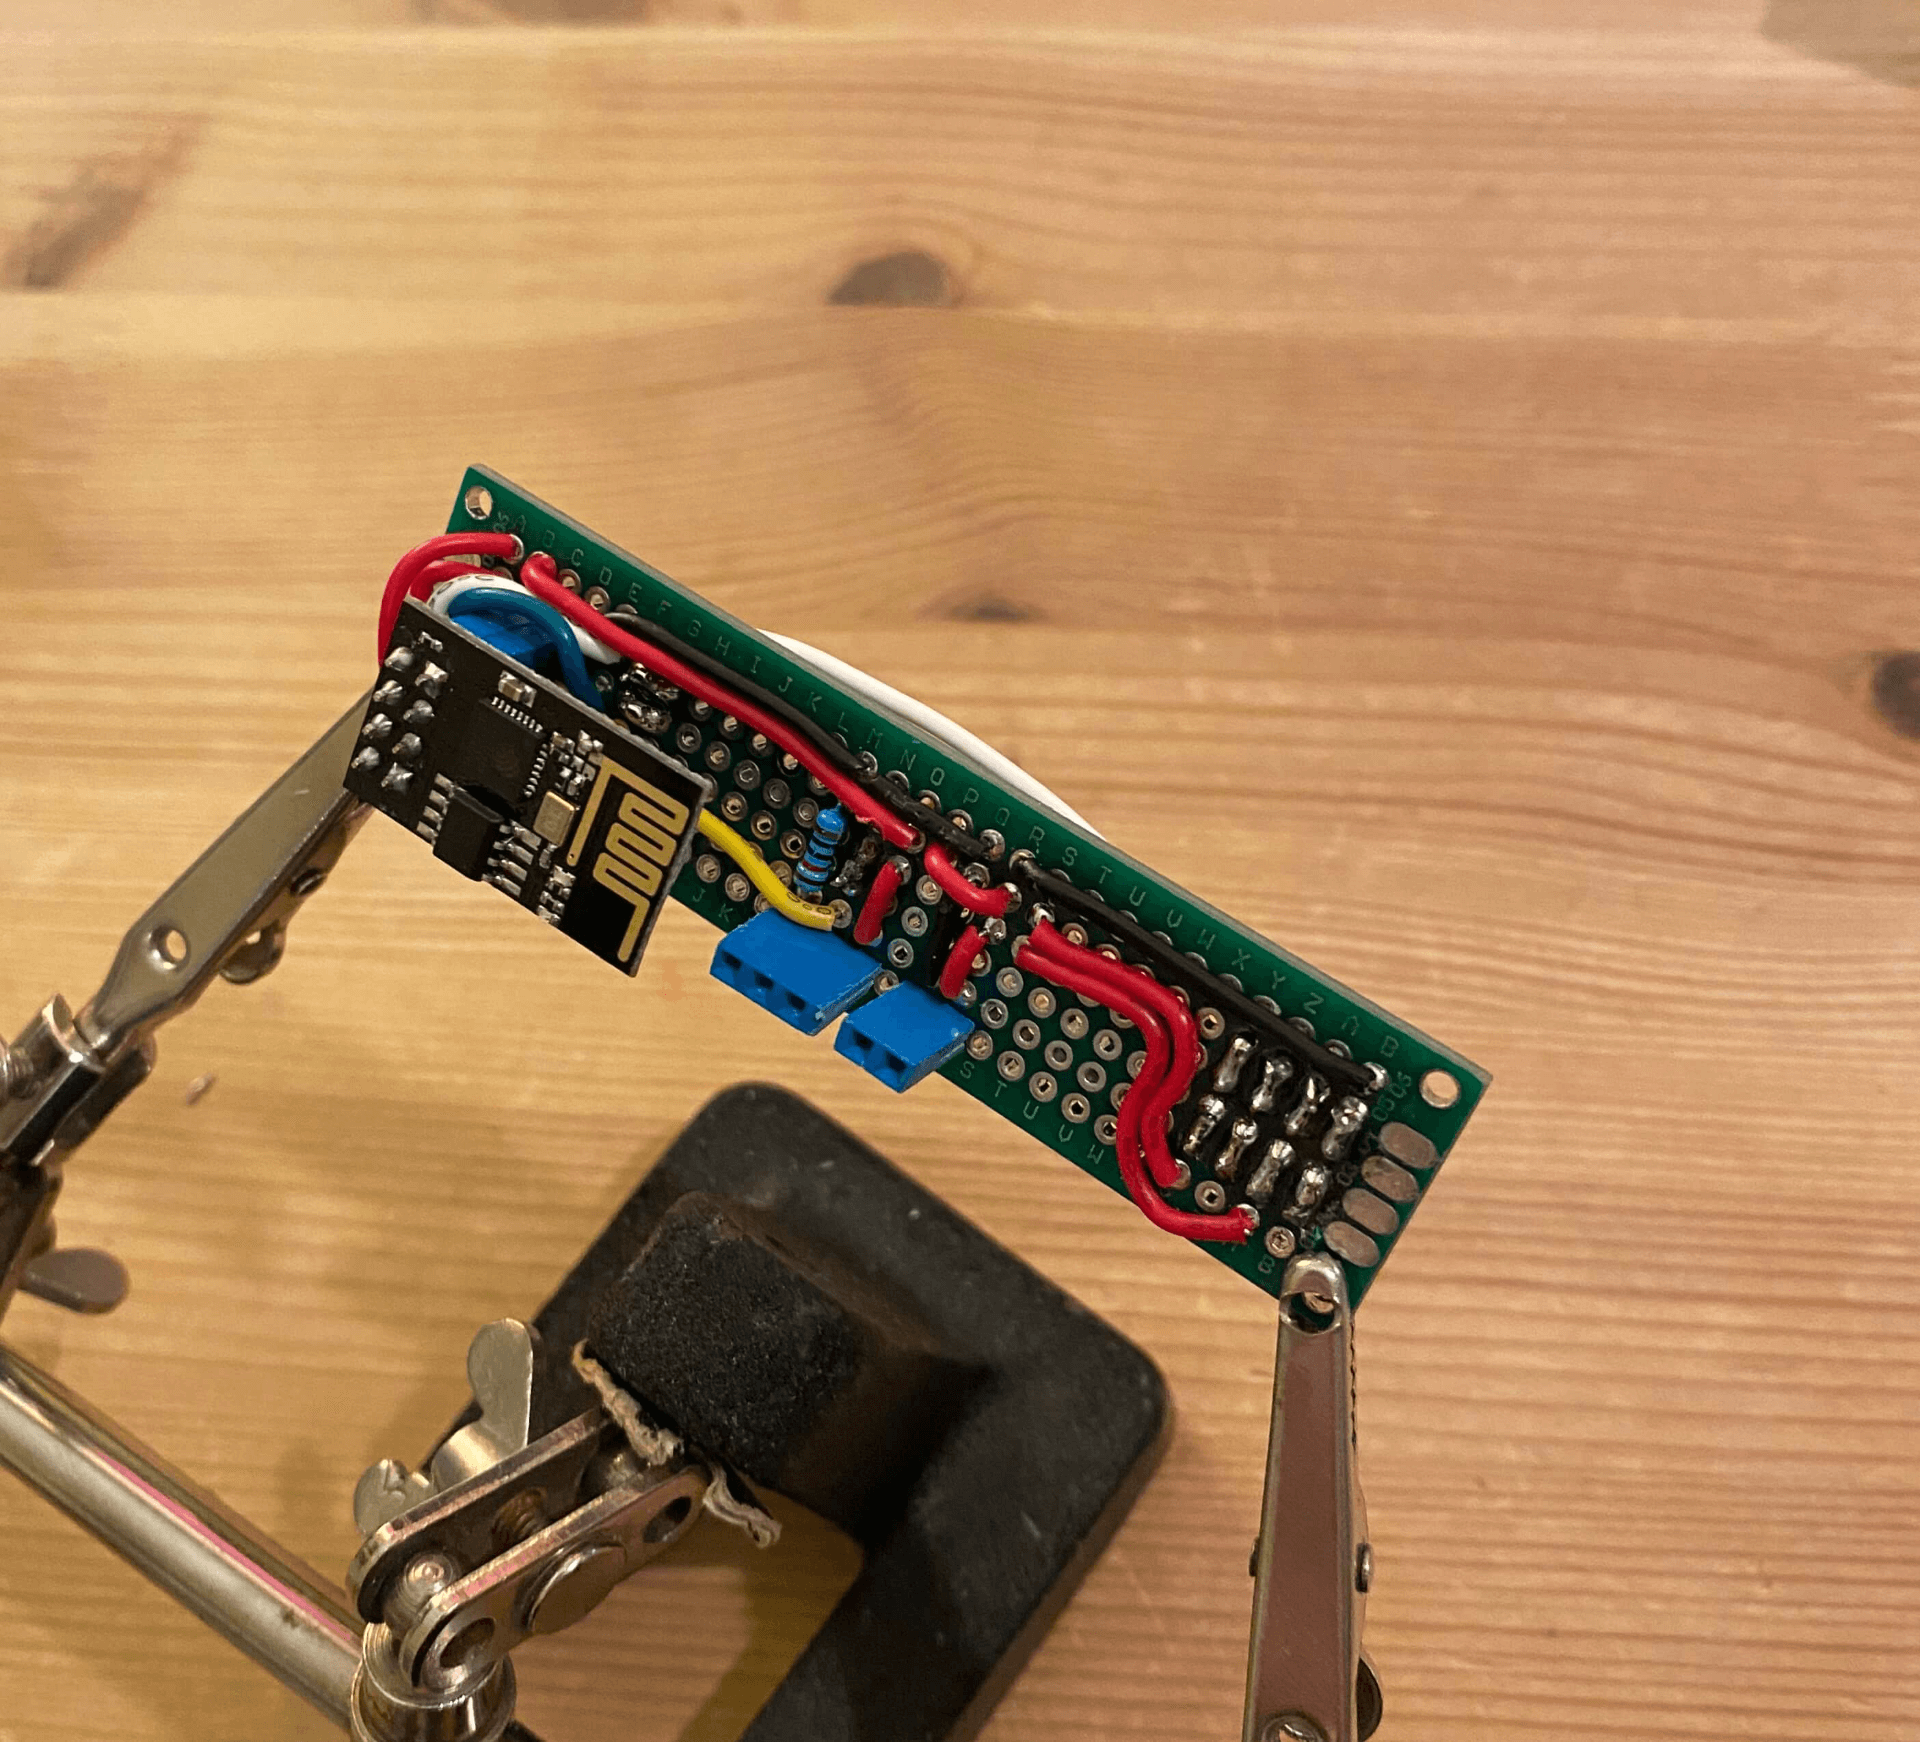
In order to communicate with the lights I used an ESP-8266, specifically the ESP-01 module. I ended up needing to update the firmware using “ESP Download Tool V2.4.” by Espressif Systems, the same company that made the board. My light switch works by connecting to Wi-Fi and sending commands to a Hue Bridge. I created the circuit as shown in the image above, but also added a passthrough for each pin to the side of the light switch case.
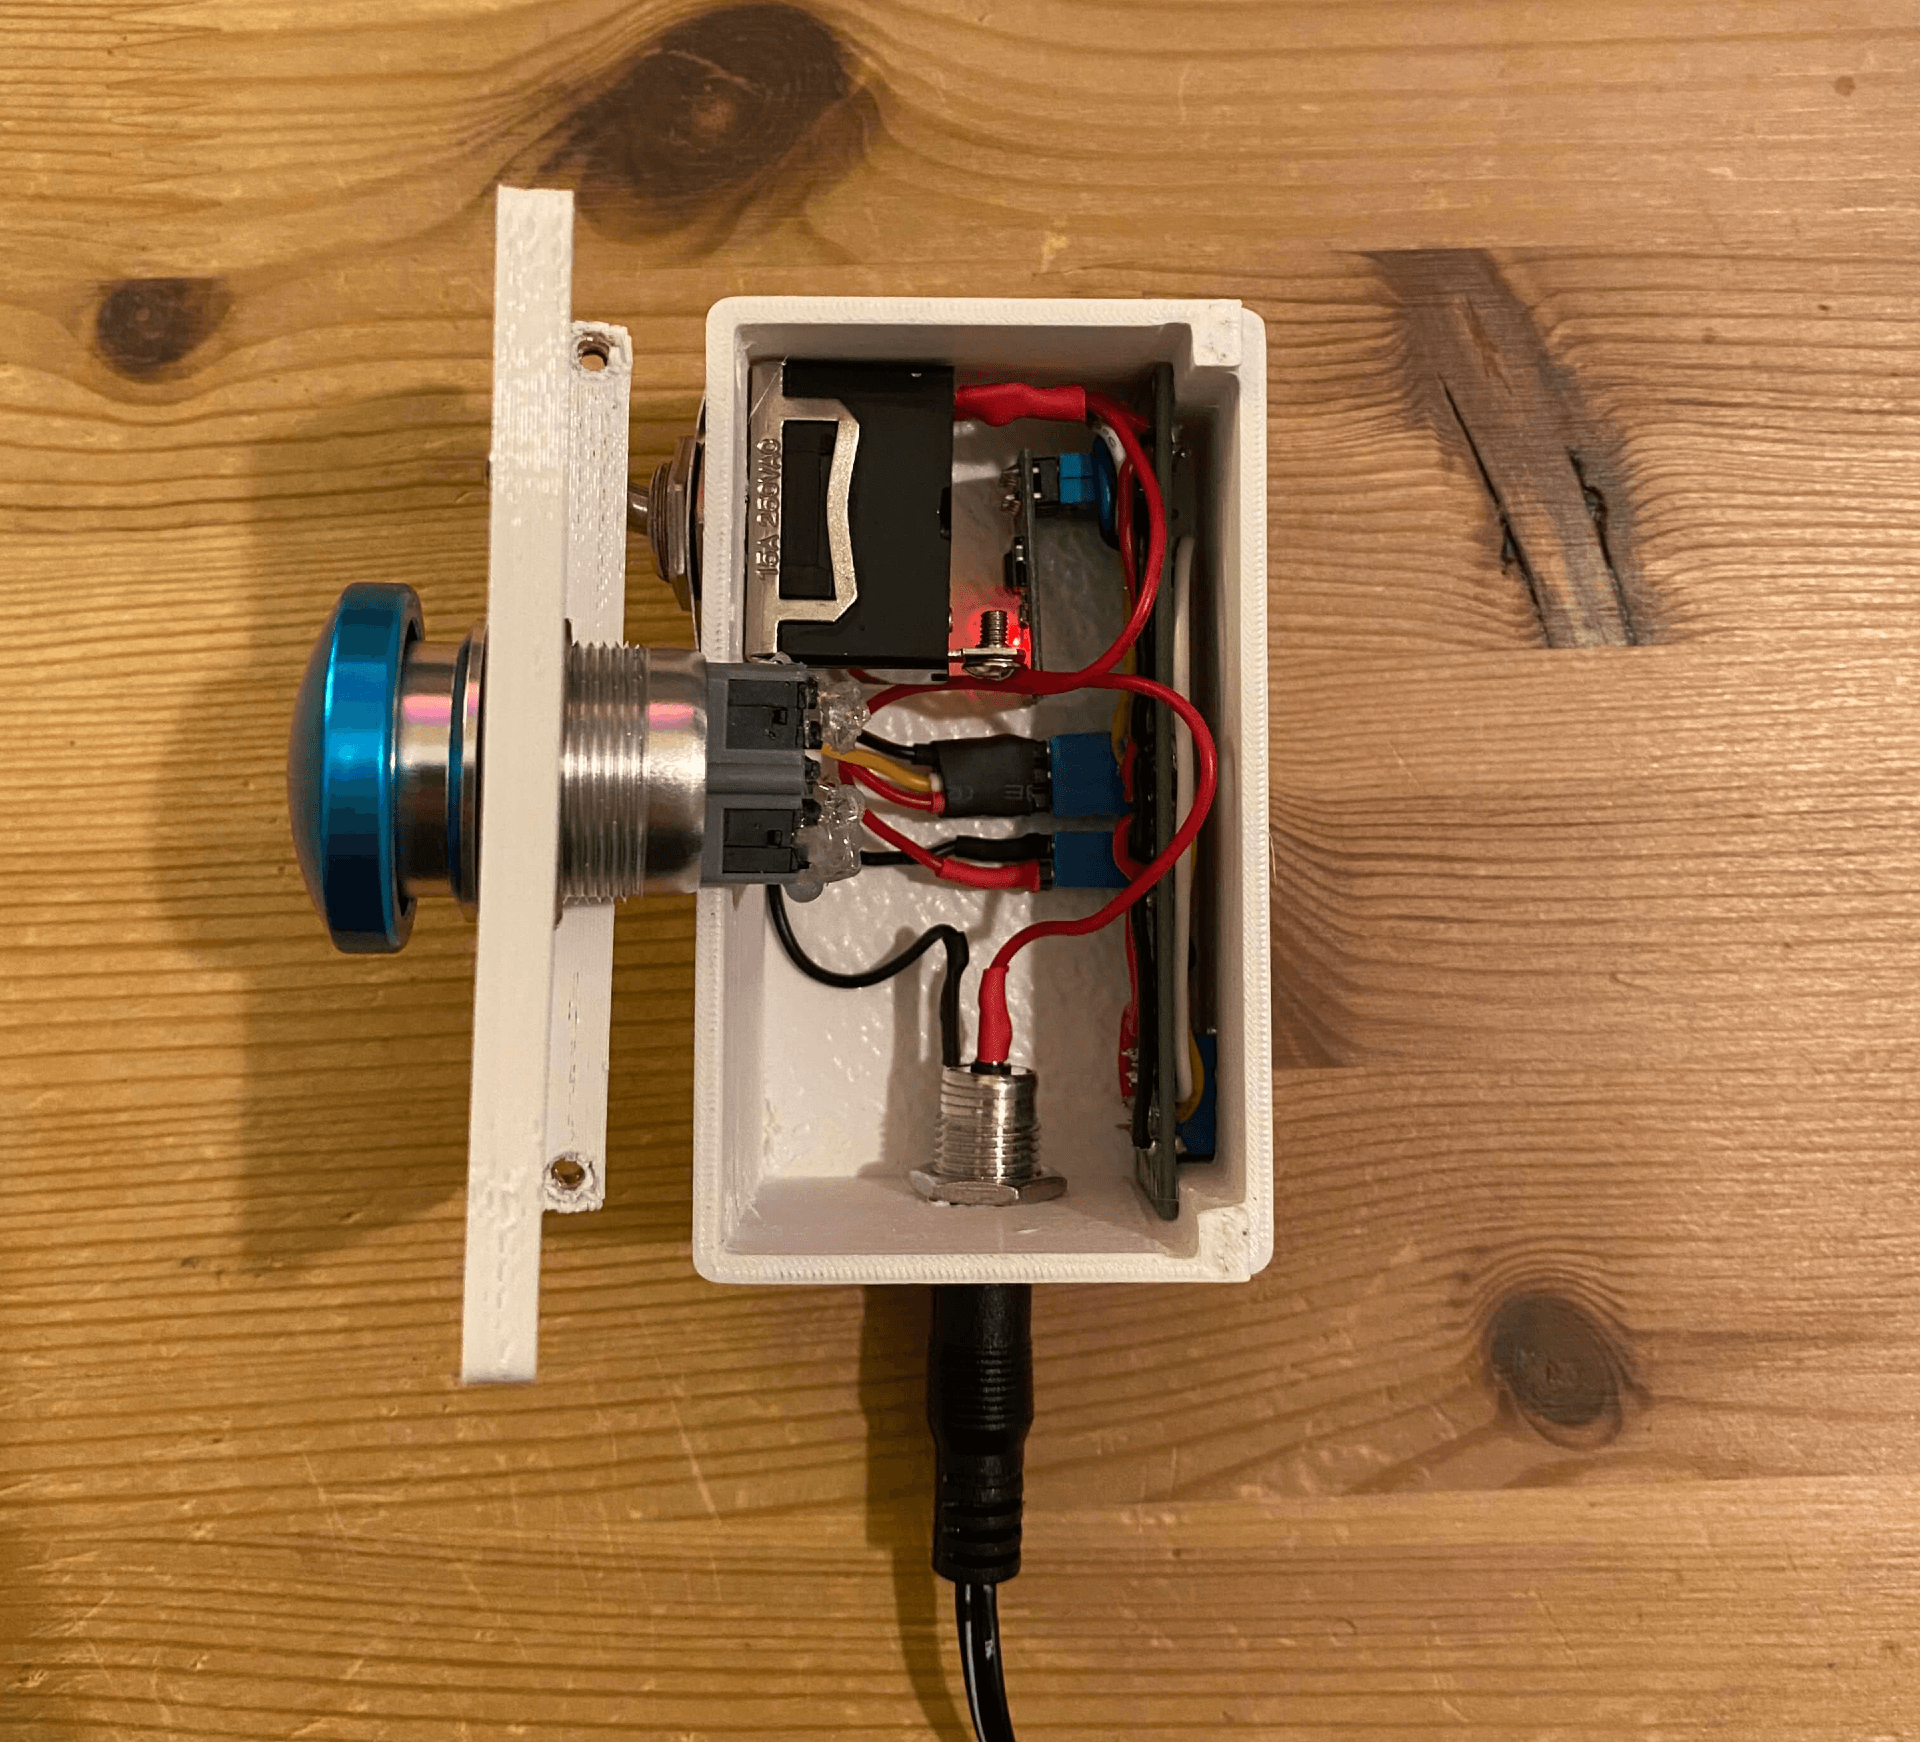
The official Hue light switch is pretty fancy - it uses energy harvesting switches, so it doesn’t need a continuous power source. The energy produced by pressing the buttons doesn’t last very long, but is more than adequate to send out a signal over Zigbee. I experimented with using an energy harvesting button, but it wasn’t able to power the ESP-01 long enough for it to connect to Wi-Fi and send out commands. As a result, I ended up needing to use an AC to DC 3.3v power adapter.
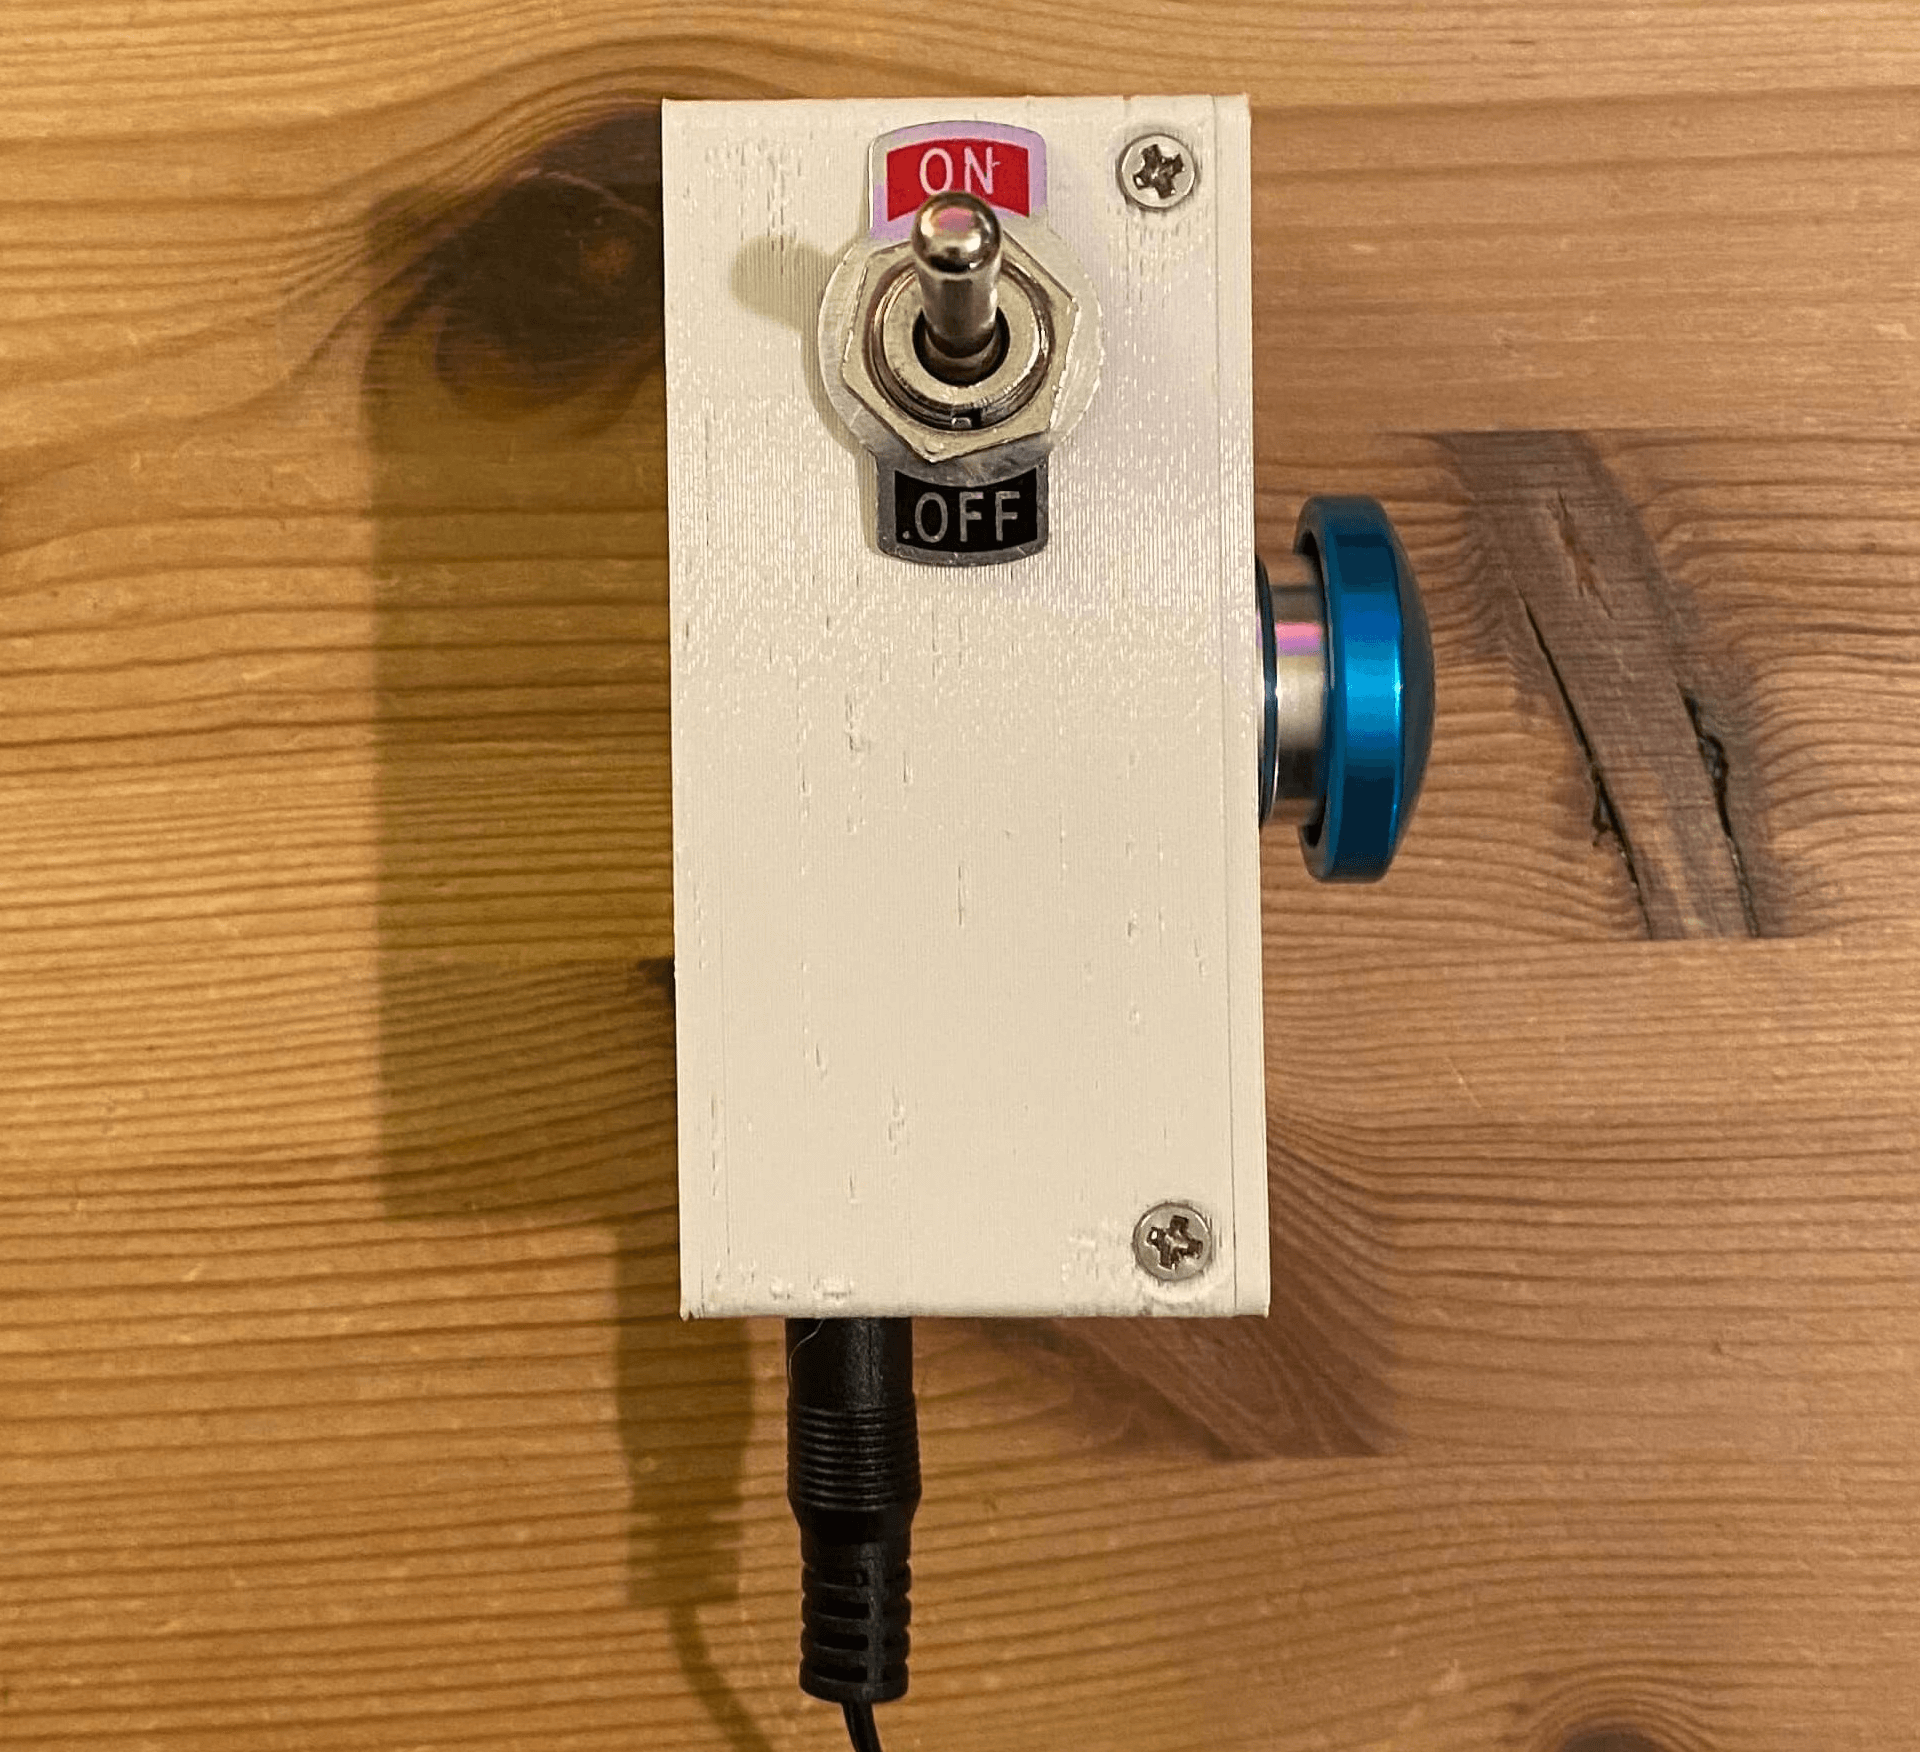
I connected the ESP-01 to an Arduino Uno and programmed it following this tutorial. However, I had to modify the code to work with light groups rather than individual lights and to send commands upon a SPDT button press. My code can be found here. I also included checks to make sure that the commands were correctly received. This was my first experience working with perfboard. I ended up having to use solder wick more than I would’ve liked, but I’m happy with the final results. The project was wrapped up with a custom 3D printed case.
I’m pretty happy with how the project turned out as a whole. I learned a lot about Arduino and electronics prototyping, knowledge that I’m excited to apply again in the future. With this project done for the time being and the weather getting nicer out, I am setting my sights once again on my XZ-550.
~ JHE